Are you interested to find out how small cuttings off a plant can grow into a flourishing living wall? In this article, we are going to take you through our steps of propagation, from cuttings to installation.
First, a little introduction: We are market leaders in introducing biodiversity and biophilia into our urban spaces through green infrastructure systems. Our living walls have been providing green solutions to urban architecture for over ten years and are a product of our dedicated teams combined horticultural passion.
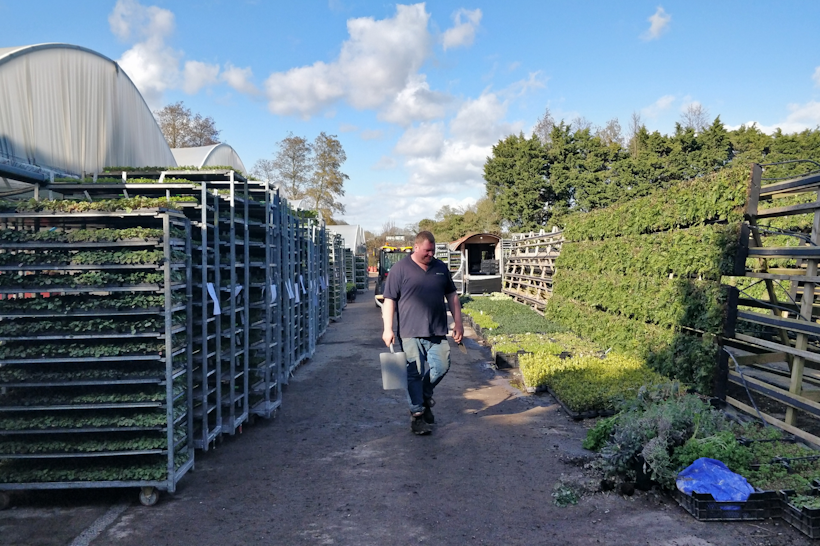
Since the opening of our first nursery in 1996, we may have grown as a business both in size and in what we offer, but we still remain personal when it comes to growing our living wall plants. With a combined expertise in horticulture, our team grow all plants in our in-house nursery to ensure every living wall installed is set up for success.
Let's get started on the propogation process:
Step 1: Cuttings are taken
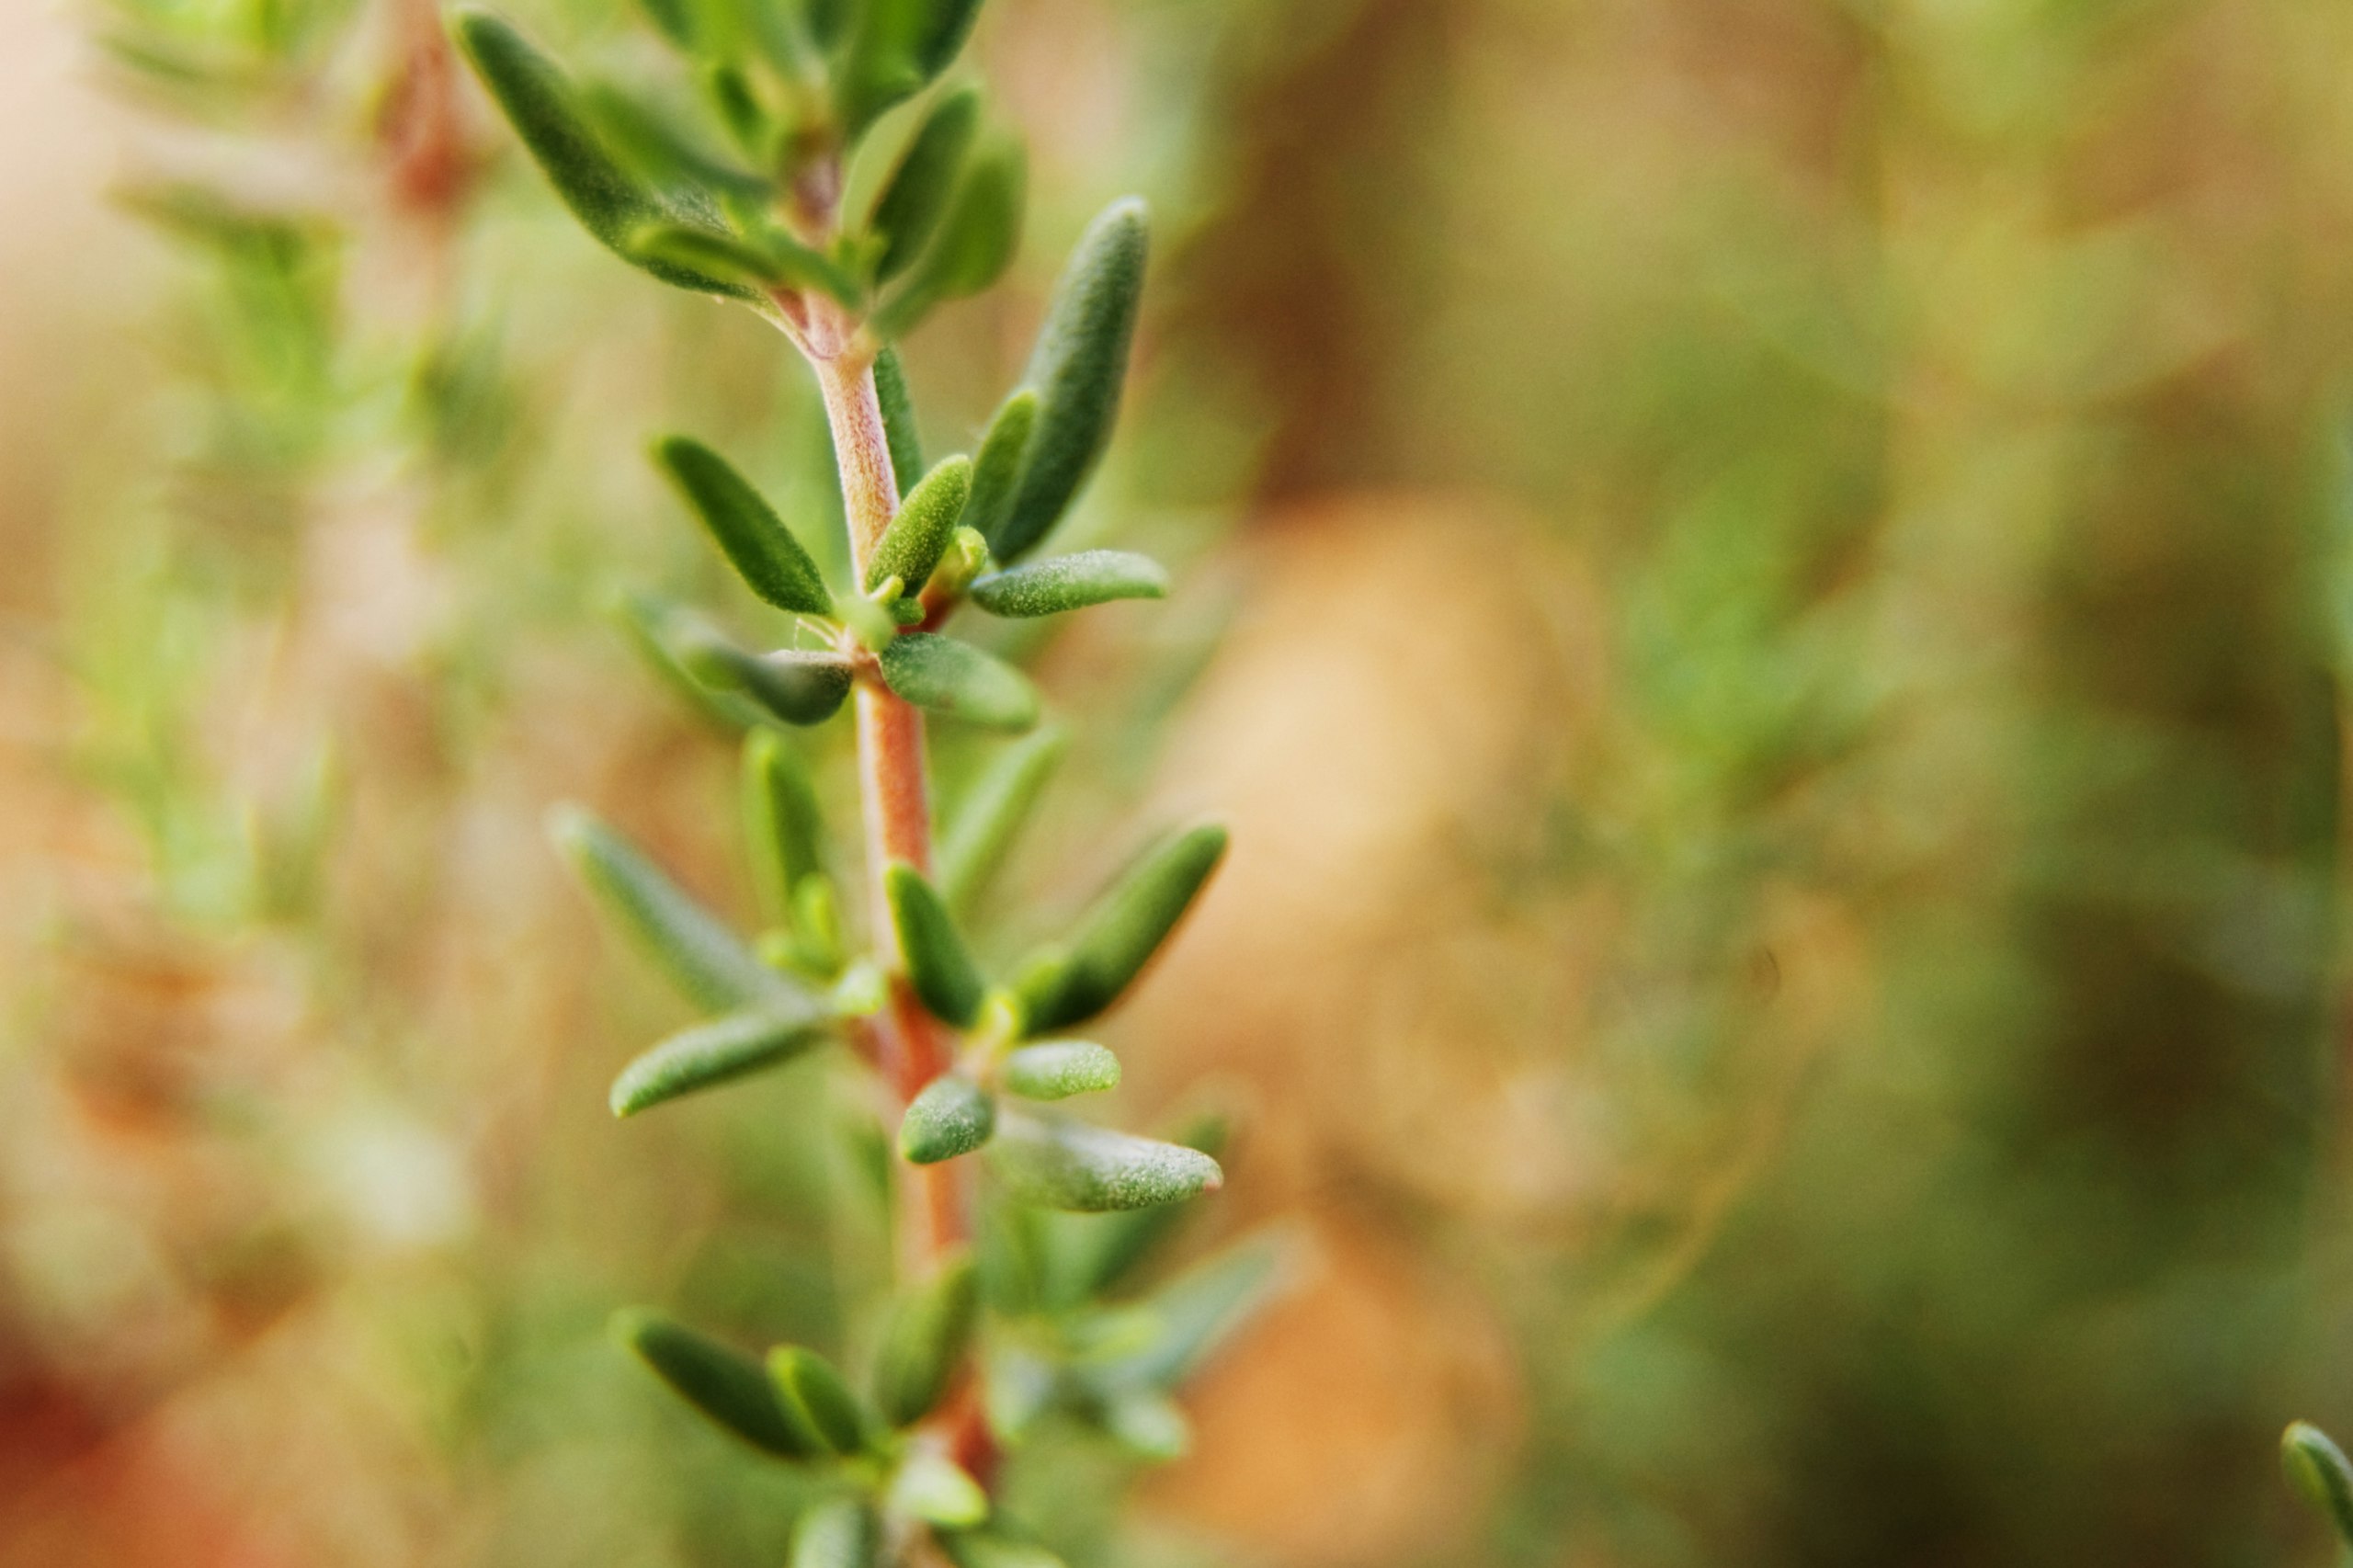
Mother plants, such as our commonly used English Thyme, are vegetatively propagated by taking cuttings from the stems. These cuttings are then trimmed to around 2-3 inches in length which need to have at least two leaves attached.
The leaves on these cuttings are then peeled off the stem, to form ‘wounds’ – needed for the next step.
Step 2: Cuttings are plugged
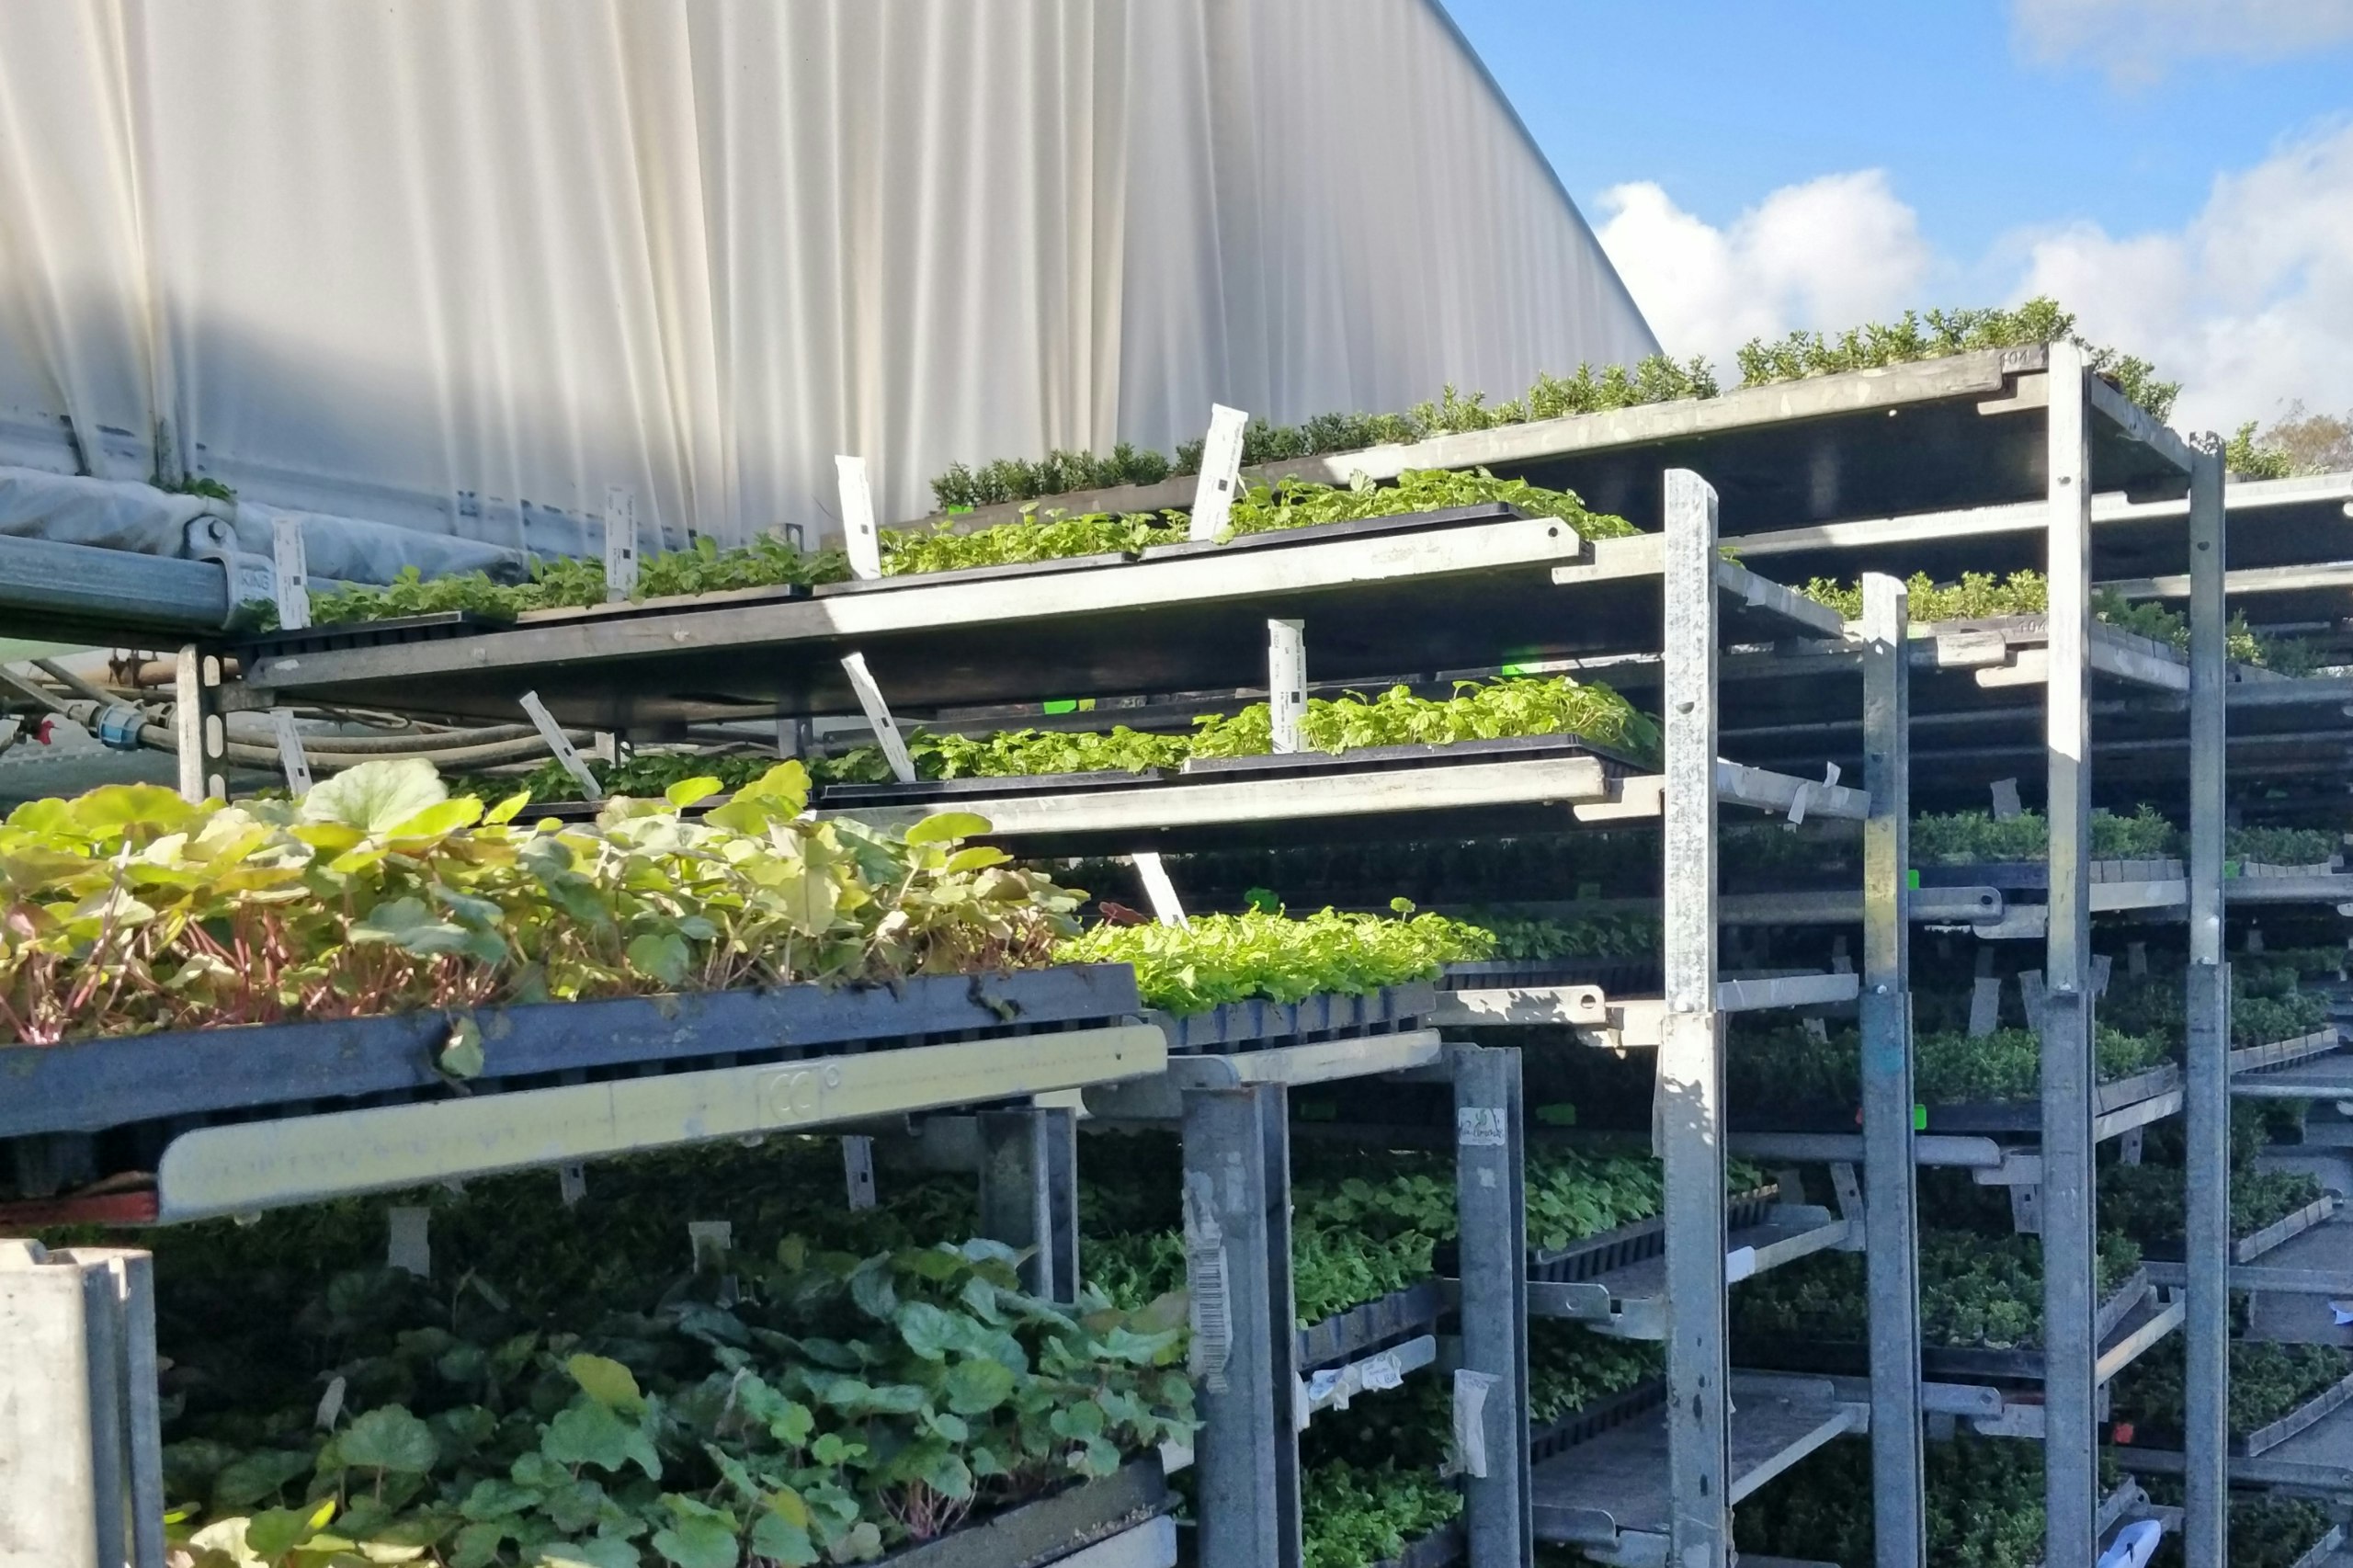
These cuttings with ‘wounds’ are then dipped into a rooting compound and placed into soil- based plug-trays. Each plug tray holds around 84-104 cuttings, and depending on the size of the living wall, we sometimes have to house over 2000 of these trays in our nursery at one time.
Step 3: Control the environment
As these cuttings are placed in a soil-base rather than a hydroponic one, we are able to keep the plants in a well-controlled environment that is moist and warm, perfect for healthy growth. A natural soil base also allows more design freedom in which plant species can be used and what climates they can be planted in. Once placed in the soil base, artificial misting or fogging is then carried out to keep the temperature and moisture consistent.

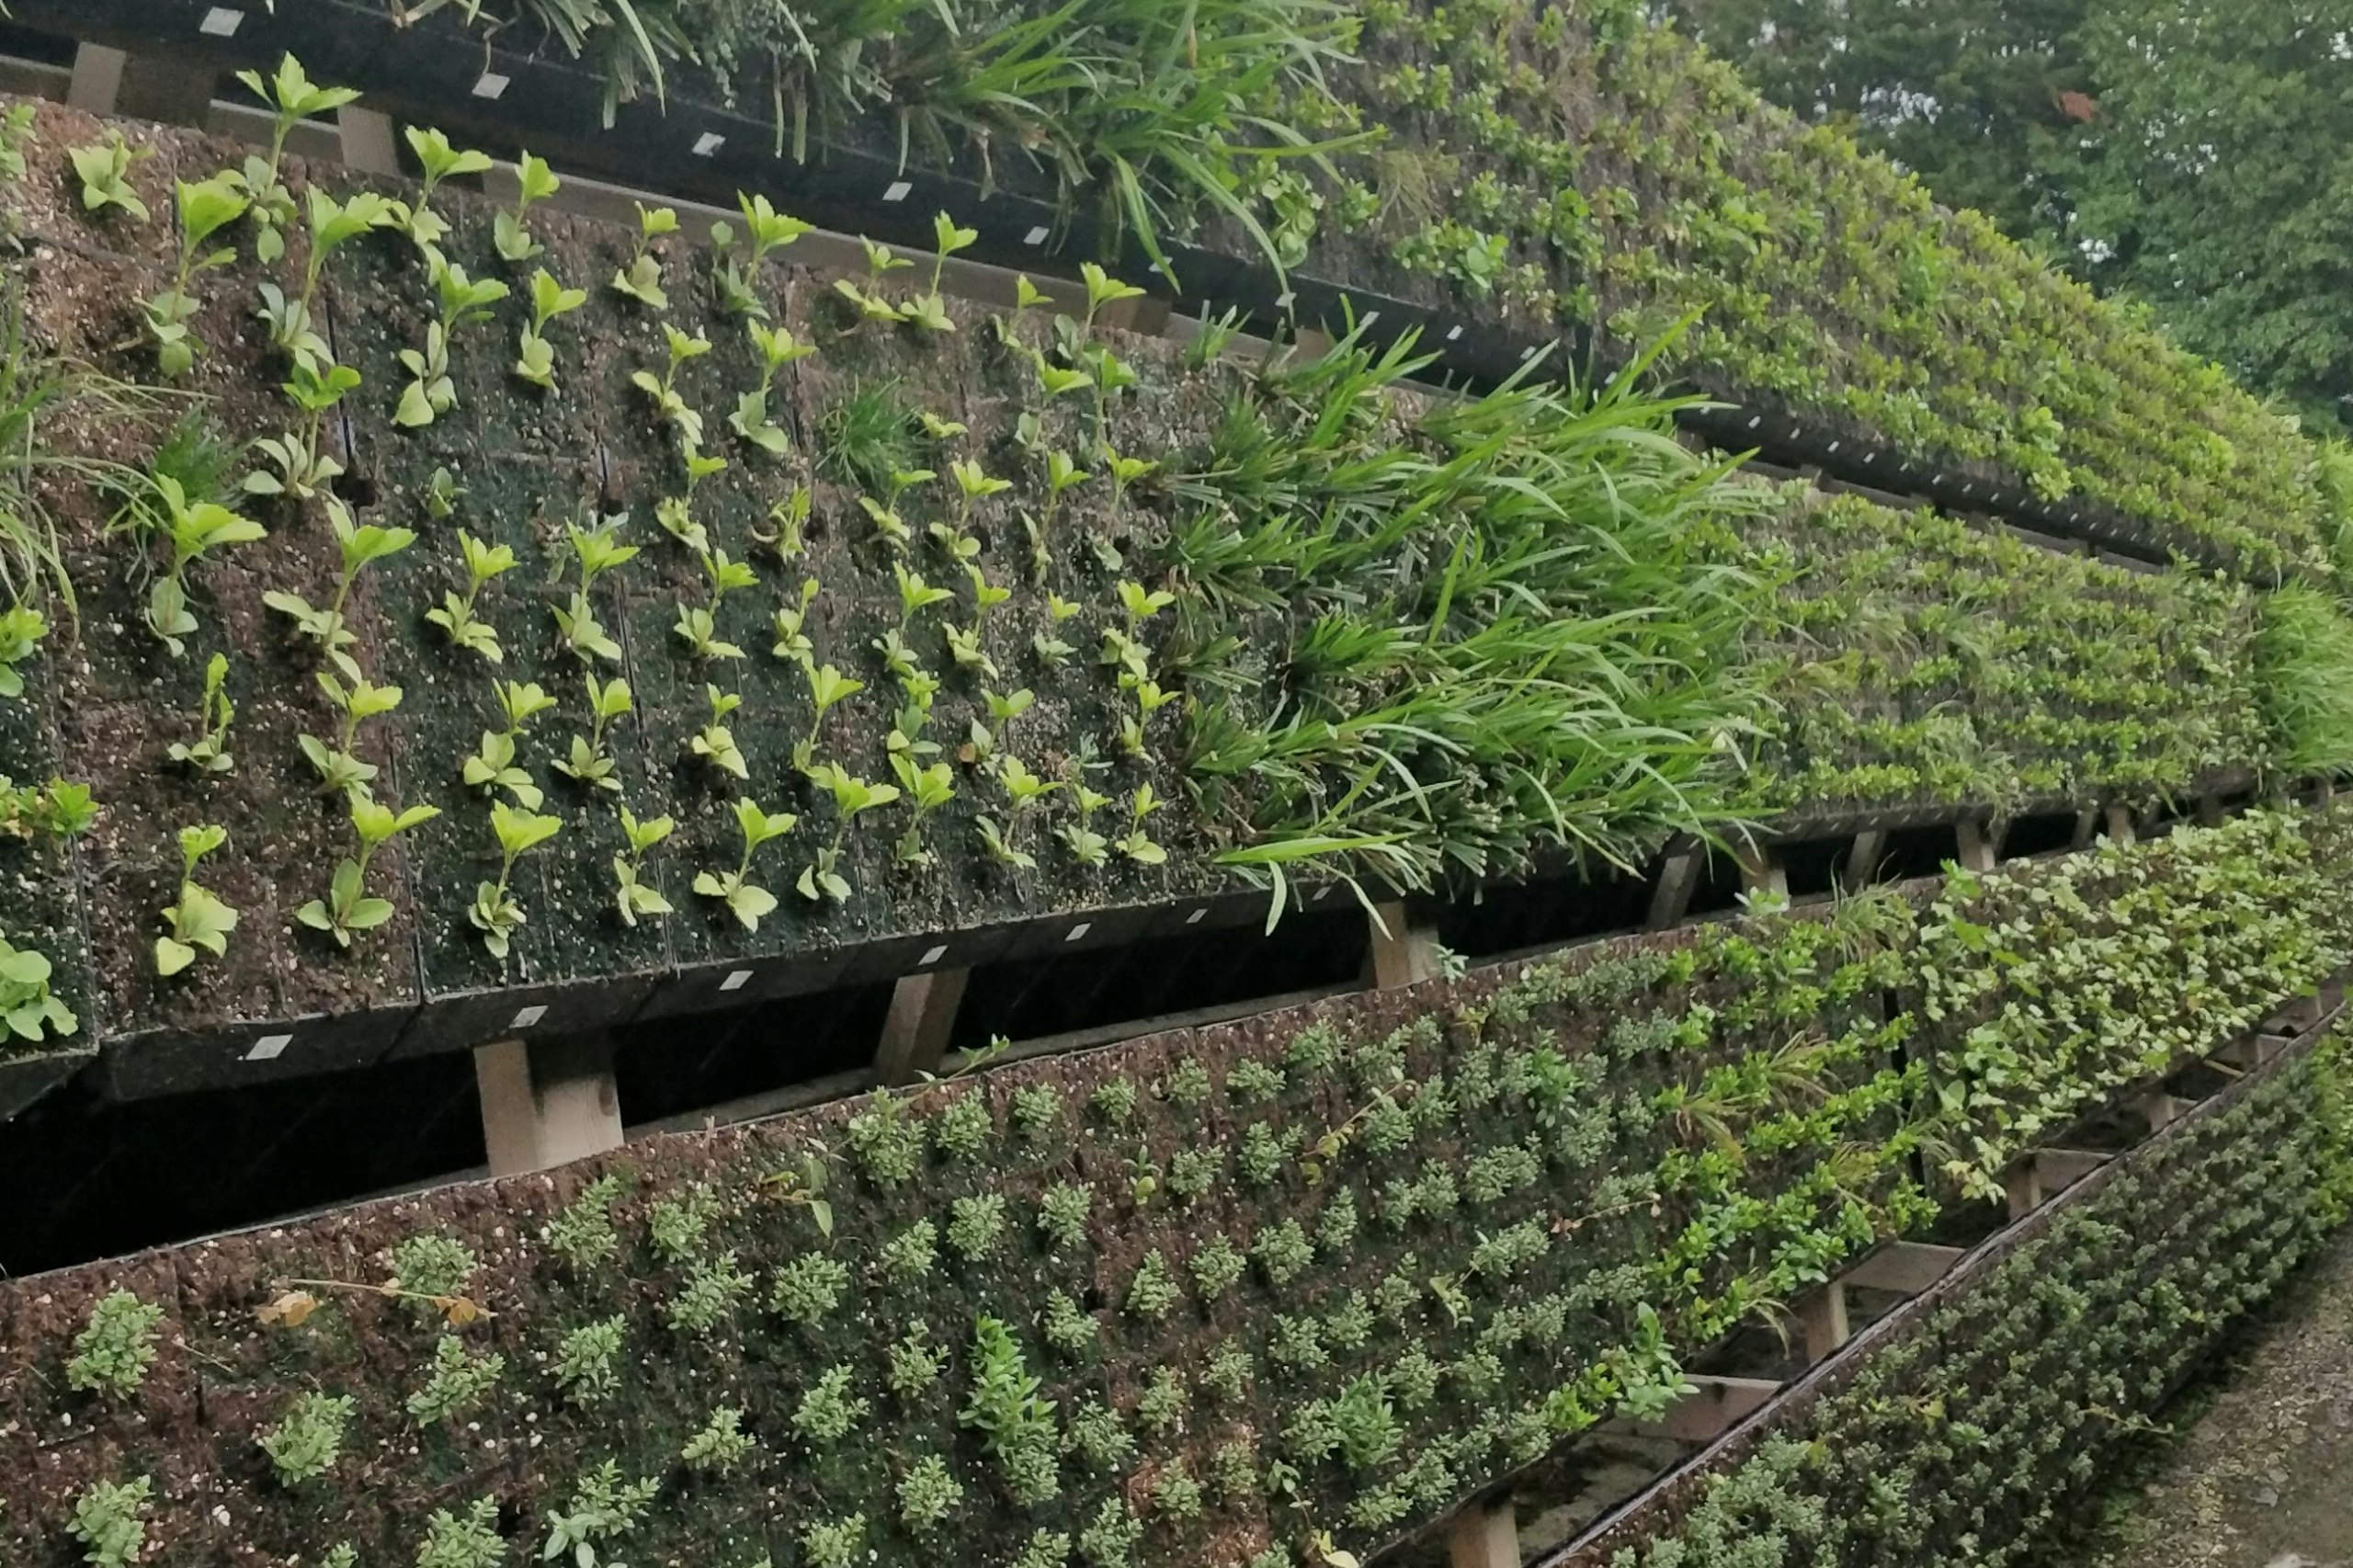
Step 4: Root shoots are formed
Root shoots then form from the ‘wounds’ of the stems and grow into the soil to form a young plant. These plants are then maintained in a controlled environment for 3-4 months until they are large enough and strong enough to be transplanted to a living wall system.
Step 5: Transplanted to the living wall system
Once the established plugs have been transplanted to the living wall modules, the client can come and visit the nursery and inspect their wall and make any finer adjustments they feel are necessary to ensure the product’s design and growth is to their satisfaction.
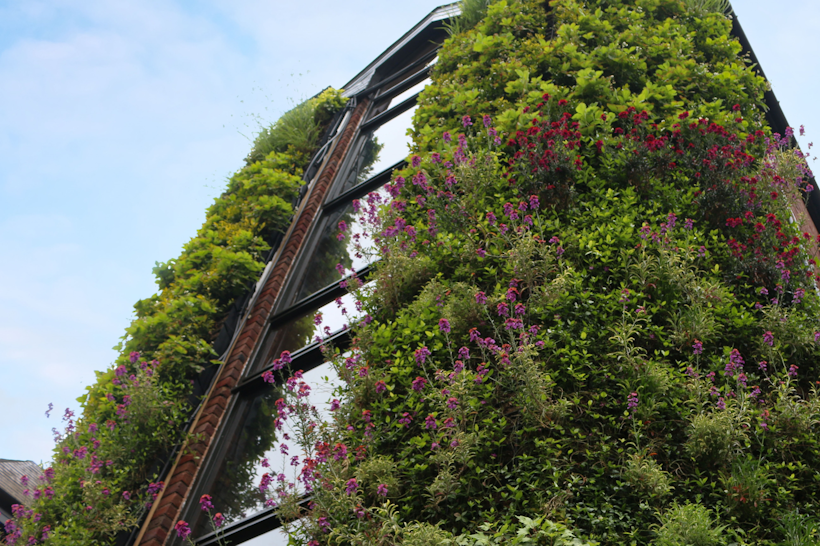
Step 6: Installation
We use multiple build-up systems which enables us to work with most structures and surfaces. This includes:
- Steel frame
- Brick
- Concrete
Designing and selecting a living wall system early on in the scheme allows for configuration of the right build-up system into the building structure.
Once the build-up system is selected, the installation can be carried out.
When installed, our modular living wall systems will automatically irrigate the soil and plants independently with their built-in irrigation, rainwater harvester if used, and drainage system.
Step 7: Maintenance
The maintenance needed when the wall has been installed, is regular visits for visual inspection and to ensure the computer-controlled irrigation system is distributing the correct amount of water through the wall, and a twice-a-year plant husbandry visit (what we call ‘horticultural husbandry’) which can involve a full trim, pruning, dead-heading, plant replacements if necessary and calibration of the irrigation system.
Design a living wall with Viritopia and reap the benefits
Are you in the early stages of development? Are you looking to capitalise on environmental assets? Are you interested in learning more about living walls? Then look no further. Our team at Viritopia have you covered.
Using over 20 years’ experience designing and maintaining green infrastructure, we form detailed analysis on how a scheme is to meet regulation. We aid a faster planning process and provide you with what’s needed to take your project to the next level.
Get in touch with our expert team today or learn more about our living wall consultancy right here.