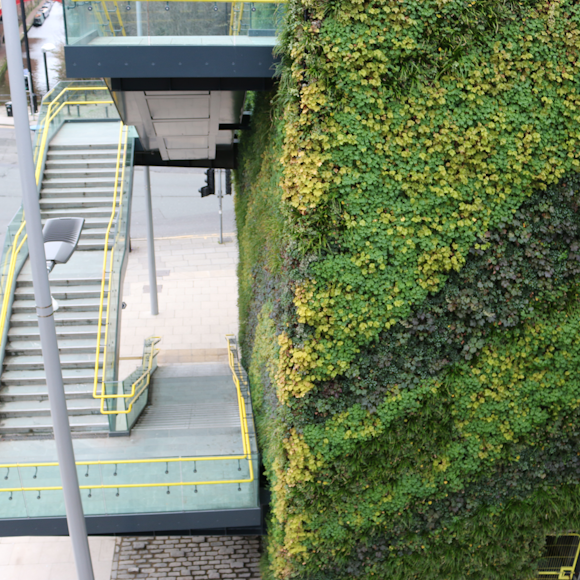
With a rising appreciation for all things nature across the world, it’s no wonder living walls are becoming a go-to design feature for all types of spaces. From homes, to offices, and shopping centres, living walls provide a range of benefits for both humans and the environment.
In case you aren’t aware, living walls are essentially self-supported vertical gardens consisting of soil and plants. They’re hung using planters and receive all their nutrition from within the vertical support system. Living walls are now fairly common in urban outdoor landscapes, but are increasingly being brought inside due to their stunning visual impact and improved air quality.
In this article, we explore the basics steps towards creating your very own indoor living wall, so you can experience the visual, environmental and health benefits of nature at a greater scale.

Step 1. Choose the ideal wall for your plants
The chances are, you already have an idea of where you want your indoor living wall to go. But before you get started, it’s important to consider the following points:
- Is this wall strong enough to take the weight of the plants, soil and water?
- How much sunlight reaches this wall?
- And, is there a large window nearby?
You want to ensure you wall is capable of taking extra weight, receives an adequate amount of sunlight, and isn’t too close to a large window – ling walls by a large window might be negatively impacted by the cold during winter months.
Step 2. Plan, measure, and mark your area
Once you’re happy with your chosen location, it’s time to start planning your living wall.
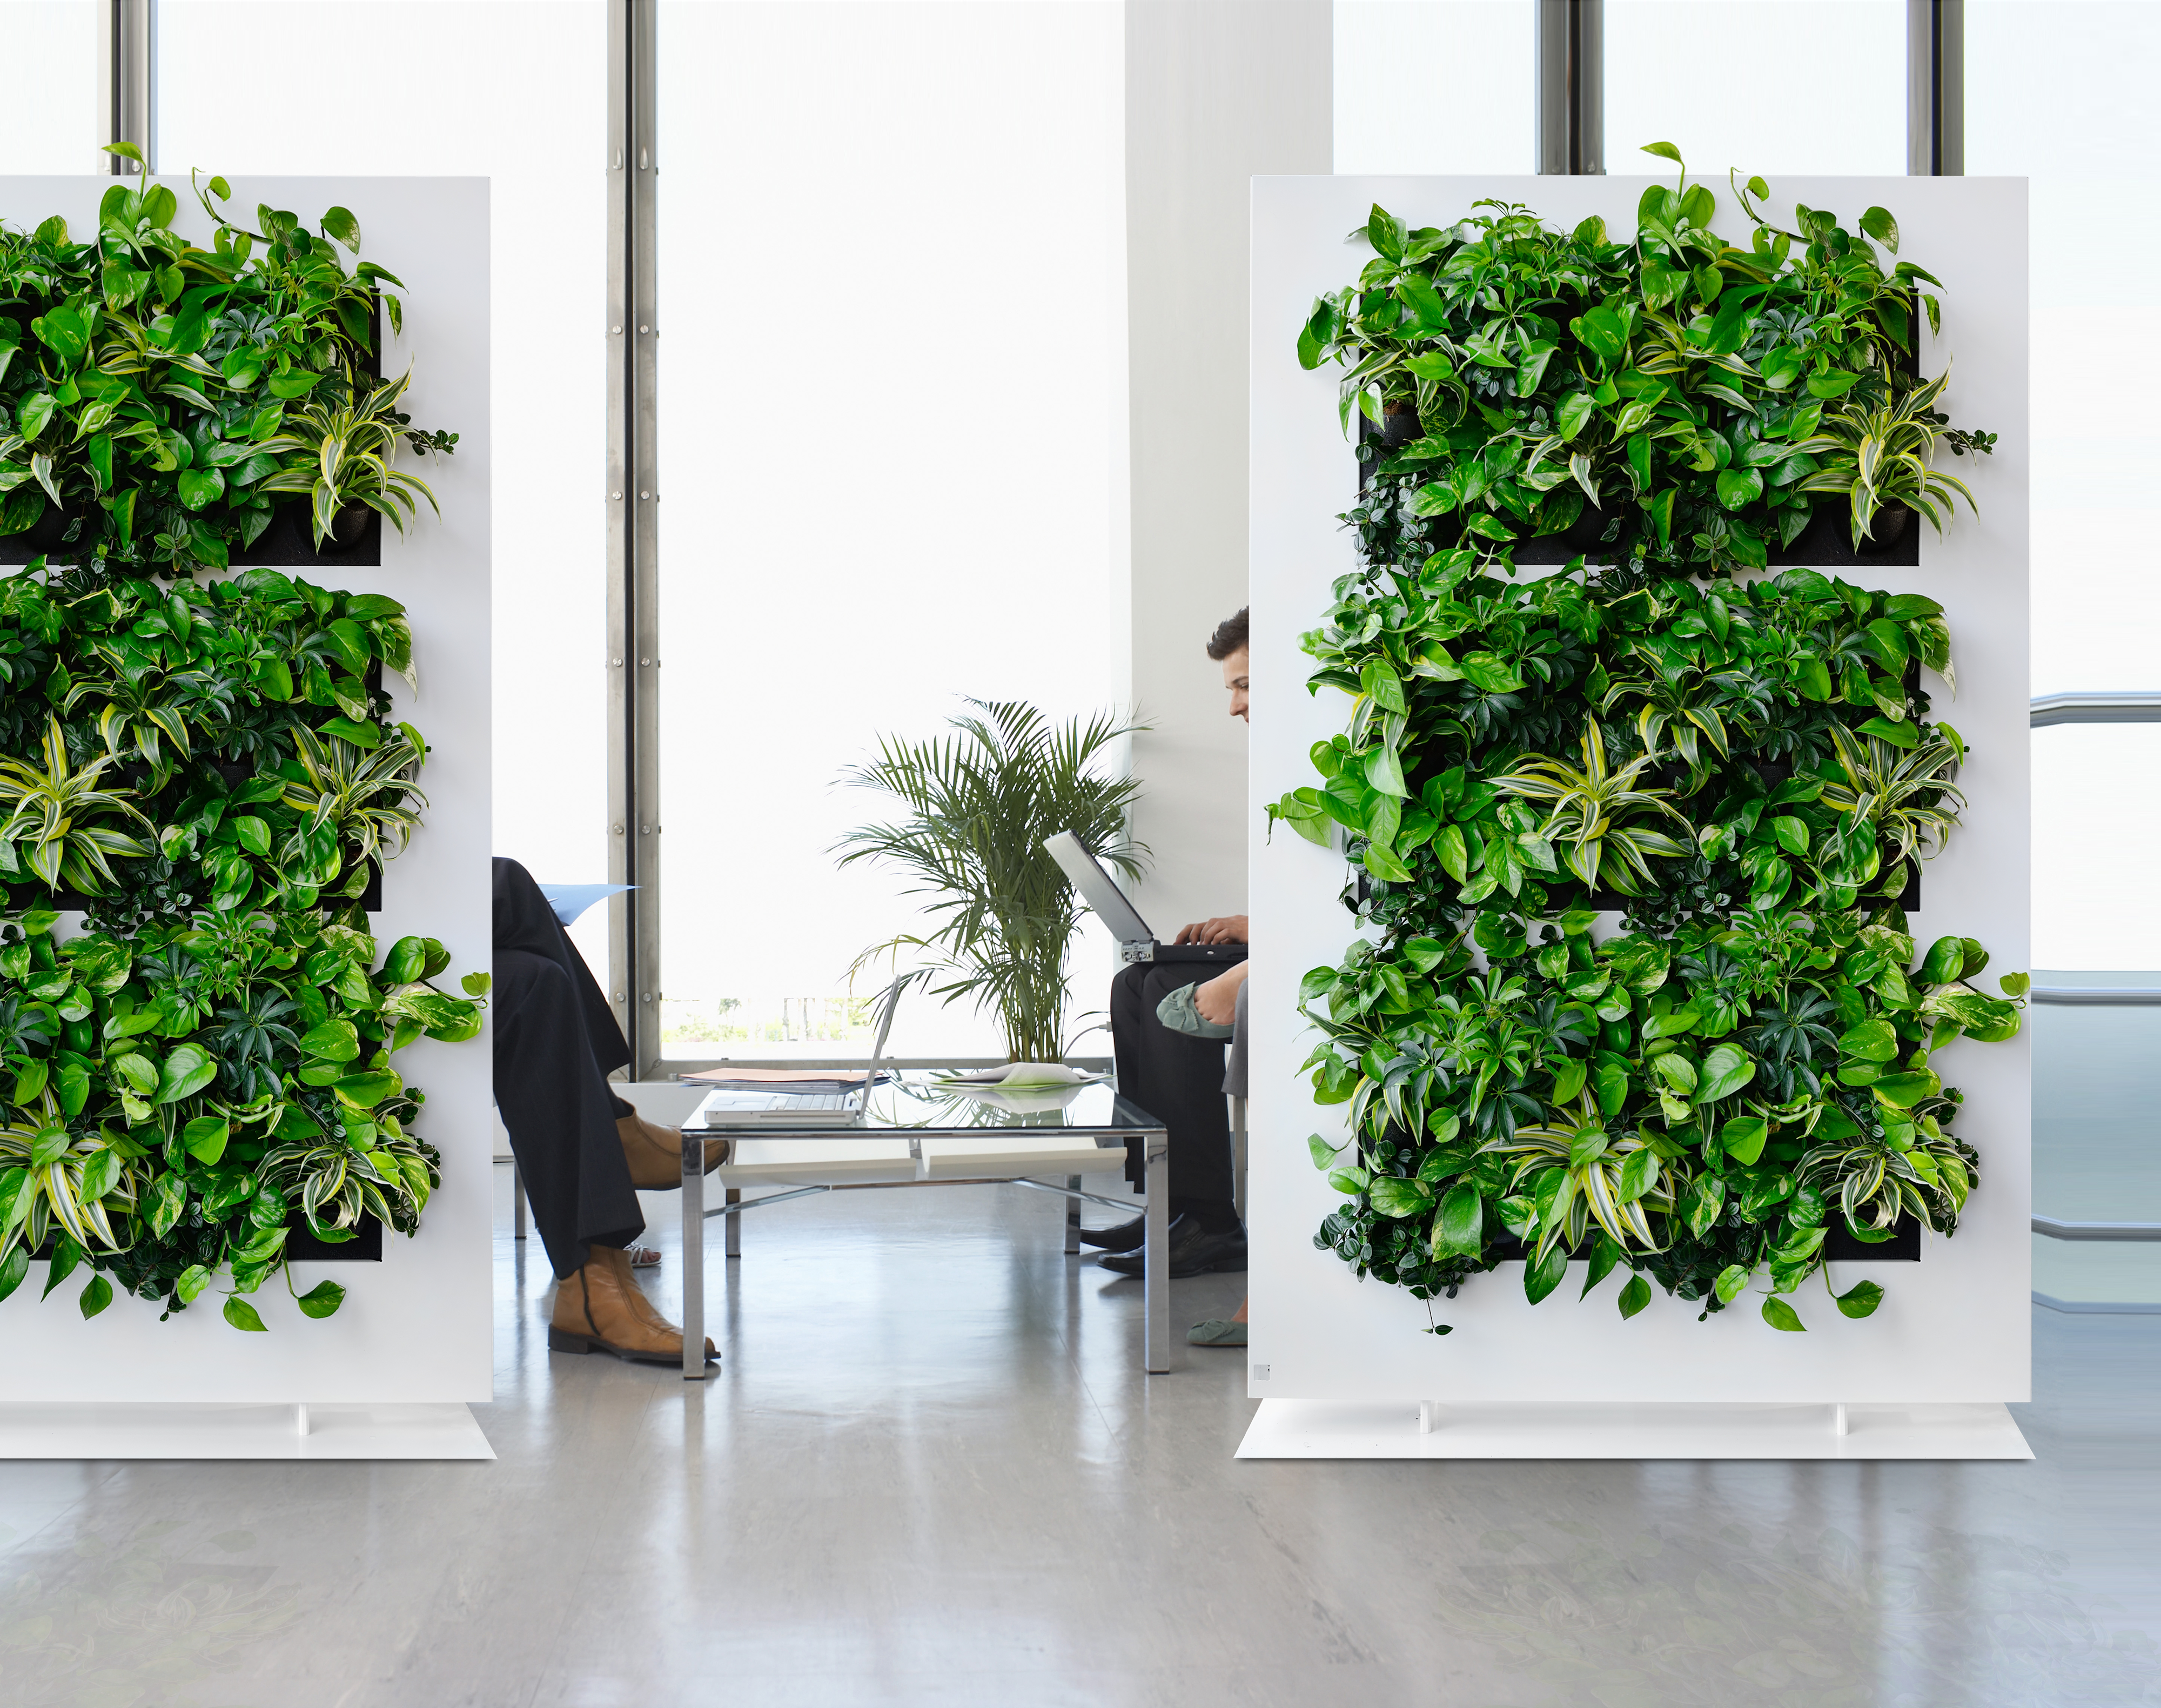
At this stage, you have two options: either create a fully DIY indoor living wall, or go down the prefabricated route.
There are many companies that provide out-of-the-box wall-hanging systems for your living wall. Some models are even free standing for those that don’t have a suitable wall.
But for those with a passion for DIY, you can fashion your own living wall using wood, plastic sheeting and a plant friendly fabric.
Let’s get to the planning shall we.
Use a pencil and tape measure to mark the dimensions on your wall you intend your vertical garden to be and note these down. Whether you’re buying a pre-made solution or crafting your own, these measurements will be important. From here, you can work out how many units you’ll need to fit the space you want.
Step 3. Building your indoor living wall
If you’ve opted for the pre-made route, you won’t need much more guidance. Just follow the instructions that come with your living wall kit and you should be good to go.
If you’ve chosen to start from scratch, you’ll need to gather some tools and supplies in order to construct your living wall. For this guide, we’ll be using a wooden pallet example, but you can create a frame yourself using wooden planks and screws. To create your living wall, you’ll need:
- A wooden pallet, or planks of spare wood
- Plastic sheeting
- Landscape material
- Scissors
- Staple gun (with staples)
Once you have everything required, it’s time to get building.
First, use scissors to cut plastic strips that fit the contours of the inside of your pallet. Lay these alongside the inside of your pallet and use a staple gun to attach. Ensure every spot of soil will be held thoroughly and protect with plastic sheeting.
You then want to line the inside of your pallet with landscape material. This will hold any water, preventing it from puddling in the crevices of the plastic, while providing an optimal environment for your plants to grown in.
Now that you’ve created a sheet of plastic and landscape material on the inside of your pallet, you need to seal off the back. Cut a larger piece of the landscape material that extends the entire back of your pallet and attach on the outer rim using a staple gun. Then repeat with your plastic sheeting.
By following these steps, you’re essentially creating a place for the soil to sit without making a mess. Think of it as a ‘hanging bag’ that will hold the soil and water for your plants.
Step 4. Finishing your indoor living wall
Before hanging your living wall up, it’s always a good idea to perform a quick test. Small gaps in the lining could lead to dirt and water leaking down your wall. To prevent this, fill your creation with some soil and water it. If leakage occurs, you may need to re-work the lining.
Once happy and confident your planter is good to go, follow your drawn dimensions and use screws to hang on the wall.
You can now fill your planter with soil, insert the plants of your choice and water/fertilise accordingly. What you decide to grow is completely up to you, but here are a few ideas perfect for your new living wall:
- Lipstick plant (Bixa orellana)
- Ferns
- Pothos (Epipremnum)
- Philodendron (Philodendron sp.)
- Baby’s tears (Soleirolia soleirolii)
Step 5. Maintaining your indoor living wall
How often you water and fertilise your plants ultimately comes down to the kind of plants you decided on. What we can be sure on though, failing to water or fertilise your plants enough will lead to relatively short lifespan. So, it’s vital you stay on top of maintaining your living wall, and don’t forget – the resources normally available in nature won’t be available to the plants in your living wall.
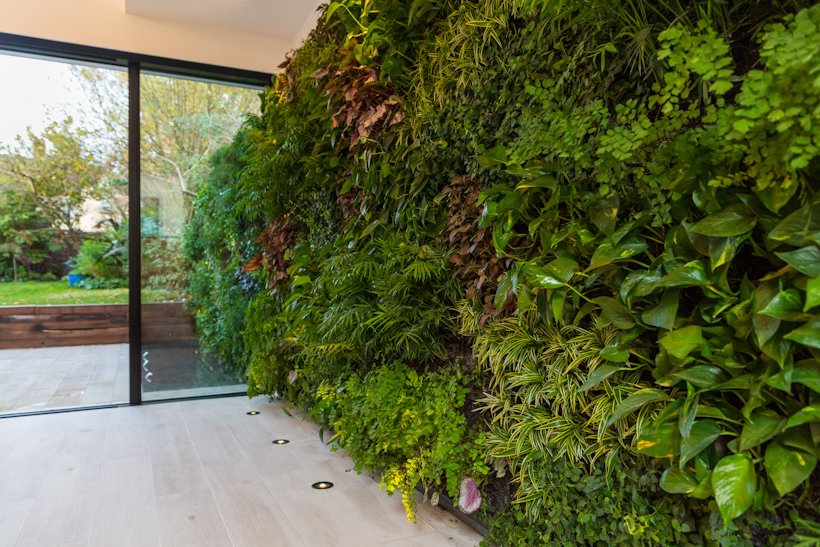
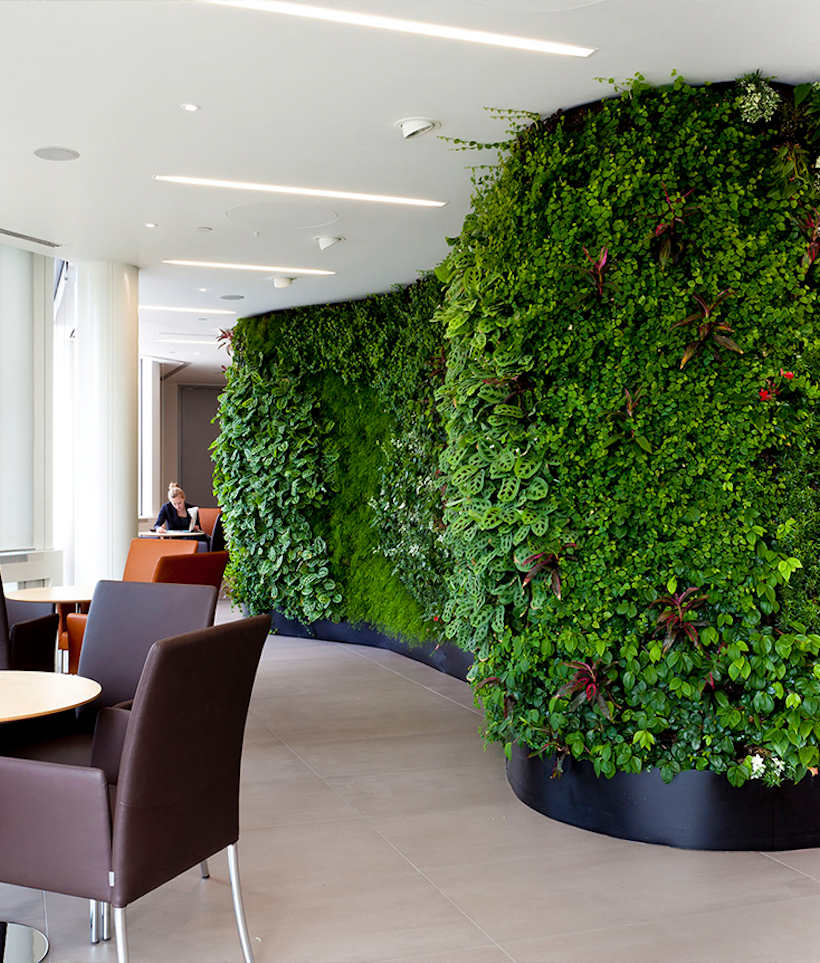
The benefits of an indoor living wall system
Your home’s new living wall won’t just look amazing, but will provide a number of benefits for both you and the surrounding environment. This includes:
- Purified air – by converting CO2 into oxygen, and volatile organic compounds (VOCs) into compounds the plants will feed on, you’ll benefit from a healthier environment to live in.
- Positive psychological effects – research shows plants have a positive effect on the way people feel.
- Noise insulation – a vertical garden can help absorb noise coming from both inside and outside of your home.
General tips for your living wall
- Choose a place in your home that has good air circulation. This way, you’ll get the most out of the purified air from your living wall.
- Why not include a selection of edible plants such as parsley and rosemary? You now have ready-to-use herbs straight from your home.
- Should you find any pests amongst your living wall, be sure to eliminate them in a natural way.
- Populate your living wall with plants that tend to spread out easily. Ferns, Philodendron, and other plants like those mentioned above are perfect for indoor living walls.
Be sure to take care of your living wall and start enjoying the benefits of nature from right inside your home.
Looking for a longer-term integrated living wall solution?
Here at Viritopia, we provide buildings with integrated living wall solutions that have been carefully designed, installed and maintained over the past 13 years. Whether you’re looking to boost the biodiversity and air-quality of a space, or simply enhance its visuals, we have the solution for you. Why not take a look at our Viritopia Living Wall System in further detail, or contact our team today – we’re always happy to talk and are standing by to answer your questions.